STEP 1: Watch & Read about the Basic tools of Photoshop
Photoshop Introduction:
|
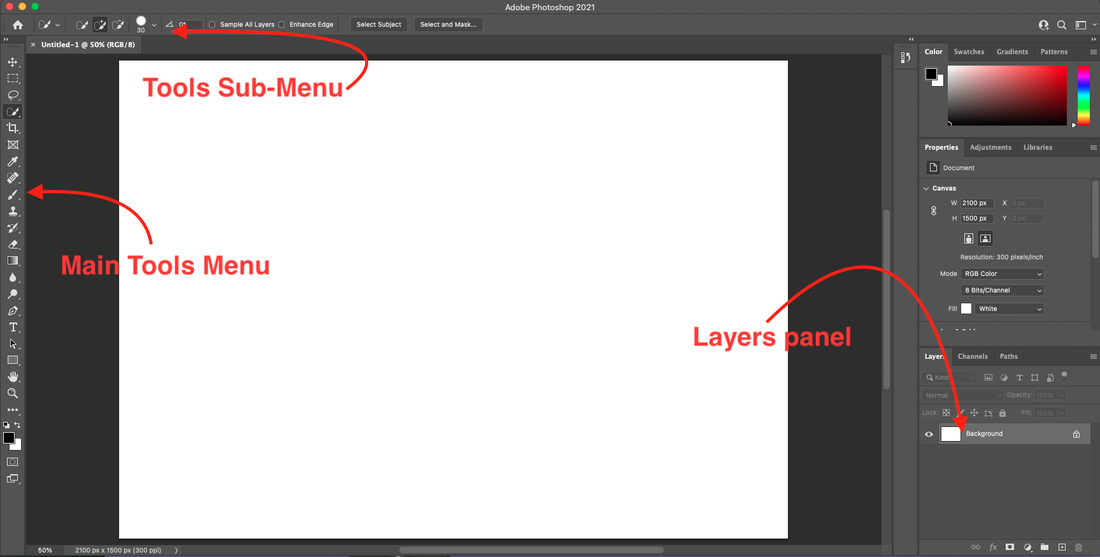
The Main Screen:
This is what a Photoshop window looks like. On the left-hand side, there is the main Tools menu. At the top, there is the Tools Sub-menu. Any time you click on one of the buttons in the Tool Menu (on the left-hand side), the Sub-menu will have different tool options to adjust that specific tool. On the right-hand side, you will see the Layers Panel. The layers panel shows you all of the components of your project broken down into different layers. You can arrange the layers to bring components in front or behind others. |
|

|
The Move Tool:
The move tool is located in the Tools menu. How to use it: You can use this tool to move an object by clicking and dragging it to a new spot. You can use this tool to rotate objects by clicking on an object then hovering over one of the corners and dragging it in a circular motion. You can use this tool to scale objects by clicking on an object, then clicking on one of the corners and dragging it on a diagonal. |
|
The Quick- Select Tool:
The Quick- select Tool is located in the Tools menu under the Select Area. It may be hidden in the Sub-menu. The Quick Select tool allows you to select specific objects in your workspace. After you select the object, you can do many things like change the color, delete it, copy it, etc. To use the Quick- select tool, click on it, and make sure in the Sub-menu you are on "Add to Selection". This means anytime you click on an area it will begin the selection. If you switch to "Subtract from Selection" in the sub-menu, you can then get rid of any selected areas in your workspace. It is helpful to switch between Add and Subtract to get an accurate selection. |
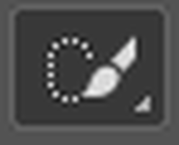
Quick Select Tool

"Add to selection"
|
STEP 2: CREATE!
|
Click HERE to go to some helpful tutorials on how to use specific tools in Photoshop Elements.
YES-- you may use the classroom cameras to take photos to edit in Photoshop! If so, please ask Mrs. M FIRST!
|
|
