What is TinkerCAD:
TinkerCAD is a powerful online tool that allows you to create and print 3D projects created from a combination of simple shapes. Invent, engineer, and build products or designs that will change the world! Watch the video below to get an idea of what TinkerCAD is all about.
Step 1: Login & Learn
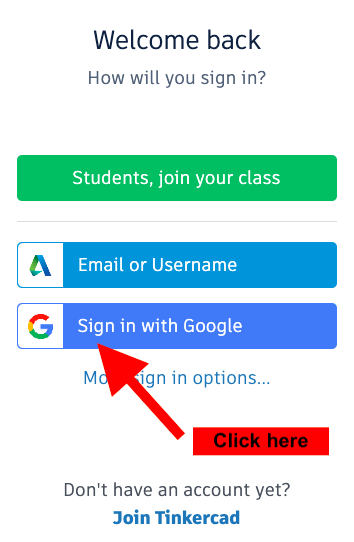
Each partner will use their own device (either classroom computer or Chromebook). Go to TinkerCAD's website (click here). Create an account using your school email. When you click "Sign In", it should look something like this:
Once you have logged in, you will need to know how TinkerCAD works. Watch the video below to see how to navigate to the "Learn" tab and do all of the starter lessons provided. Once you are done, let Ms. Porras know so you can start your own design!
Step 2: Design
Here are some ideas below:
|
Watch these tutorials! (Click on the pictures)These videos can be helpful while in the designing process.
Check the Tinker Tips page to see even more tutorials! |
|
Step 3: Printing
Before you start printing, we'll need to convert our TinkerCAD files to DREMEL files (the files that the 3D printer can read). Follow the guide below, or find paper copies hanging in the 3D printing room!
Extend Yourself: SketchUp
Feel like your ready to try something more challenging? SketchUp is another app where you have more freedom to create custom shapes. Go to the SketchUp page on this DAAD website to learn more on how to use it, then design your own models in SketchUp and then export them as a 3D Printing file (.STL file)
